After a couple of weeks away in the land of the prancing horse, that's Stuttgart not Maranello.
I returned and finished off a few little jobs, firstly the handbrake lever was refitted, and the cables adjusted.
Then the gear stick was replaced, allowing the reverse lights to be connected and the switch adjusted.
Finally the coolant was checked and topped up, then I fitted both the seats and belts back in and did a quick lap of the street.
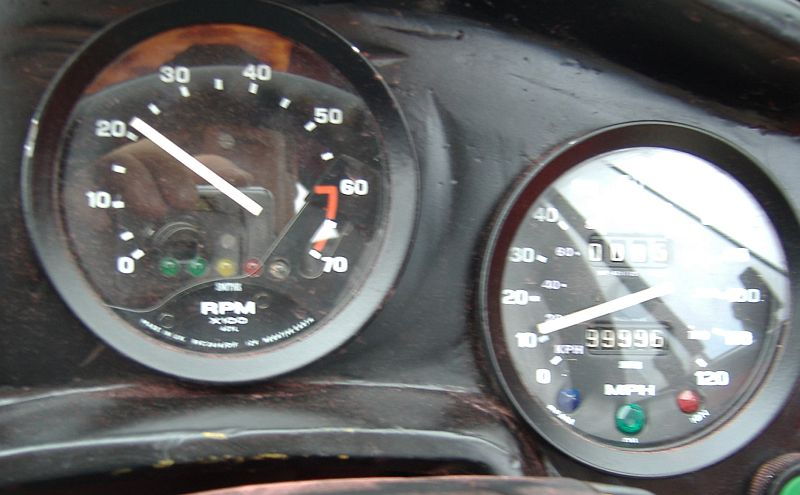
The run showed a few problems, there is a noise/vibration at the passengers side, I suspect a pipe touching the bodywork, and the speedo doesn't seem to function. Both will be looked at, weather permitting tomorrow.
The weather is holding a little allowing me to remove the speedo pinion at the gearbox end, and refit it. With one wheel jacked up, the speedo shows some life.
The coolant pipes in the cross at the rear, so thinking this is the source of the noise/vibration, I cable tied them together to prove it. But on revving the engine it seems that it isn't the pipes, the noise seems to be coming from the alternator area.
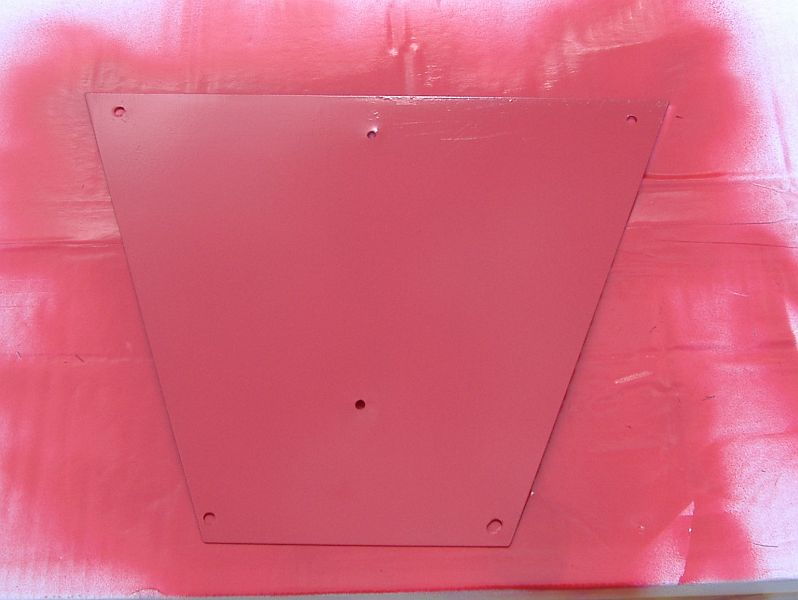
While waiting for the engine to cool enough to let me get my hand in, I painted up the last of the cockpit parts, these are the engine access hatch and the triangular covers for the sides.
|
|
After a day spent tidying up wiring, checking the ECU, and finally solving the vibration, which turned out to be a bracket touching the bodywork at the rear passengers side.
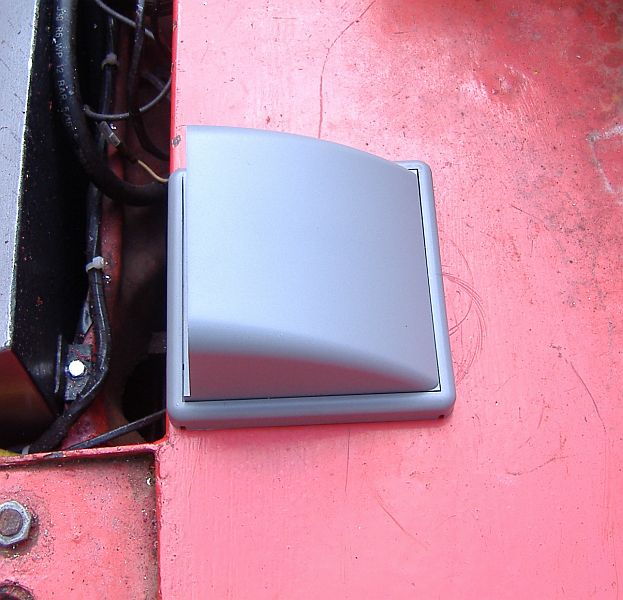
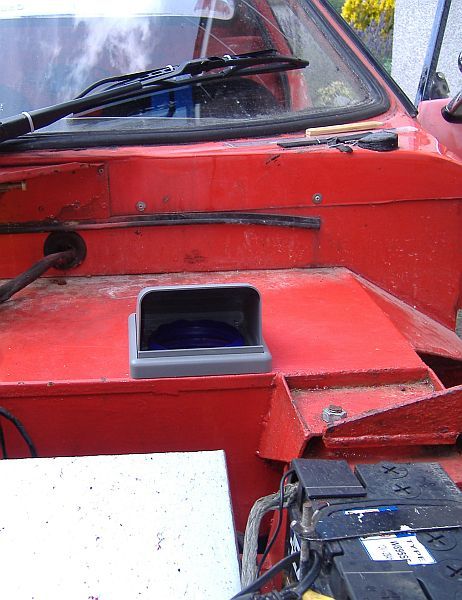
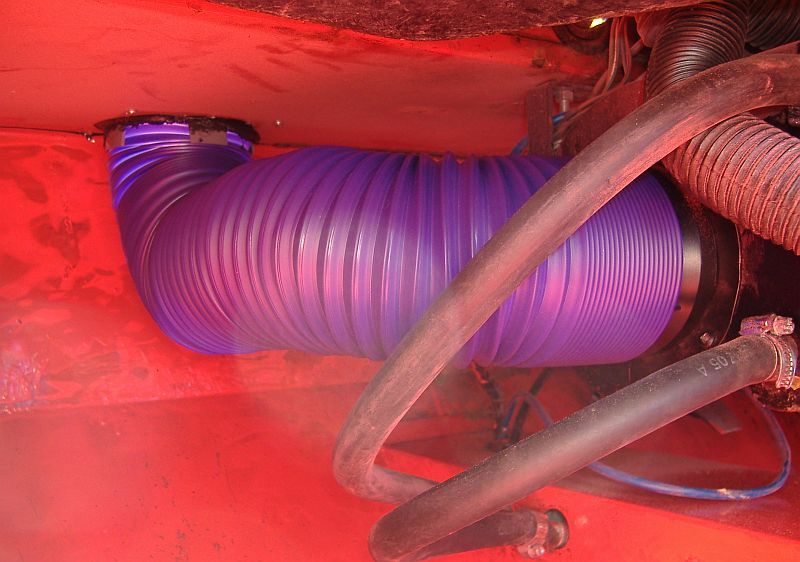
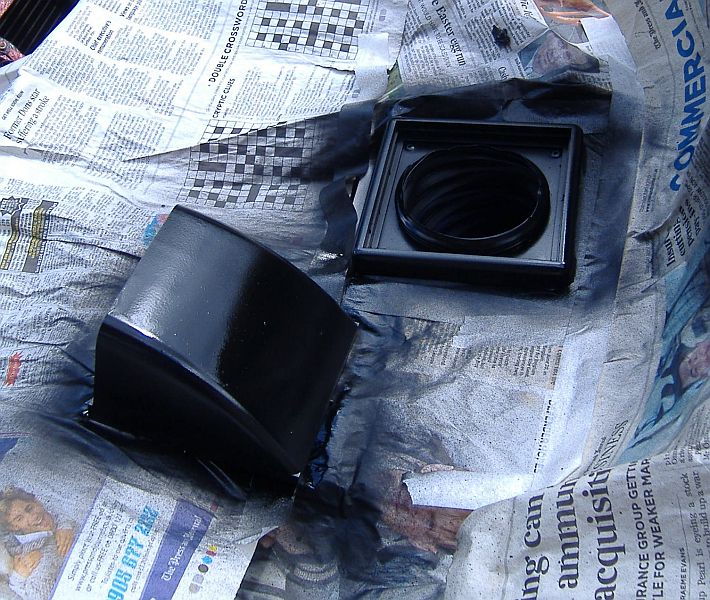
I turned to fitting a outside air intake for the heater. After cutting a hole on the bulkhead, I fitted a tumble dryer vent and hood, then connected it to the heater with a tube, designed as a hamster toy.
|
|
|
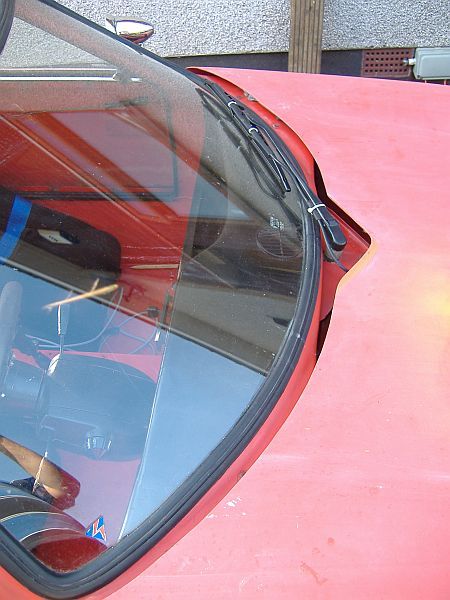
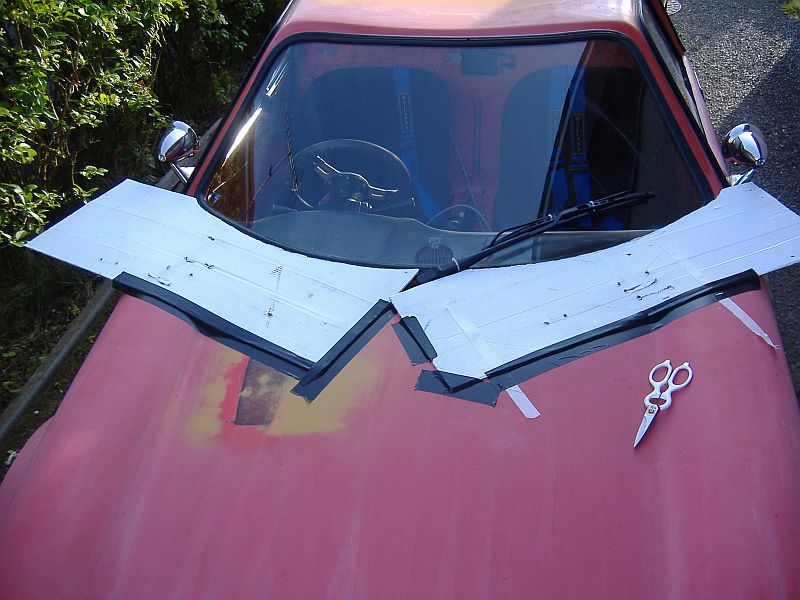
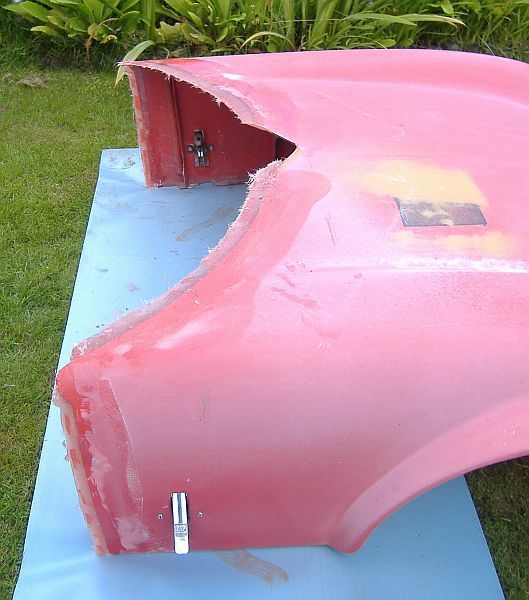
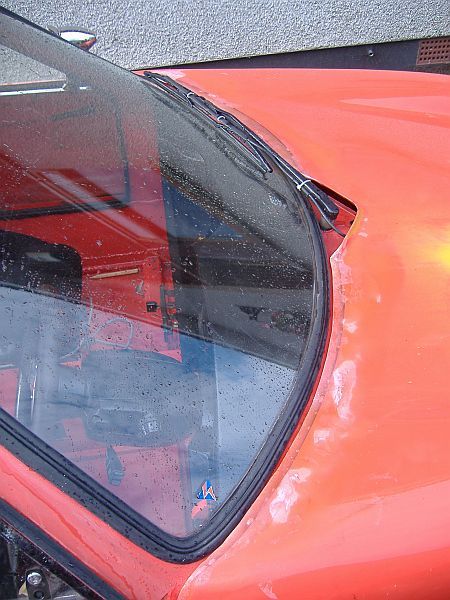
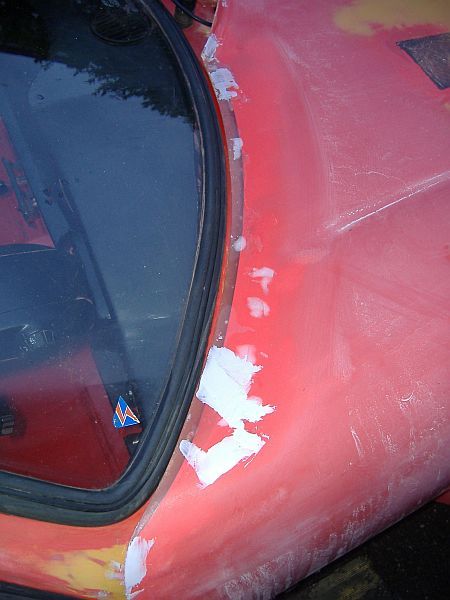
While working under the bonnet, I noticed that the hinge area was starting to crack, and needed reinforced with some glass fibre matting. As I would have to take the bonnet off, I decided at the same time, to do something about the large gap at the windscreen.
So before removing the bonnet, I made a couple of templates, from some old, corrugated plastic, rally signs I had lying around. These were cut to size, using the old pencil on a spacer trick to draw the curve. Once cut they were taped into place, and a layer of matting added.
|
|
|
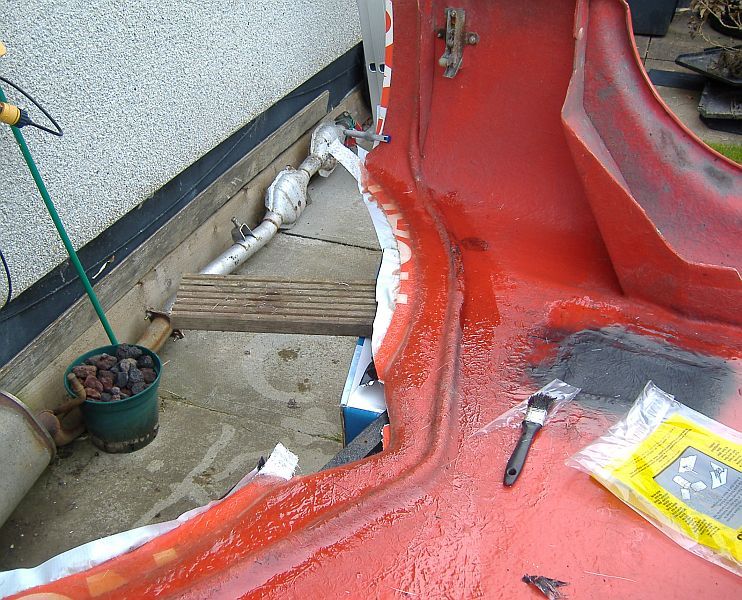
Having allowed the first two layers to harden overnight, I started the day by adding another couple of layers. With the sun beating down, and temperatures sitting at 23oC in the shade, the resin shouldn't take long to go off.
|
|
While waiting for the resin to bake, I masked and sprayed up the vent fitted yesterday.
Spent a little time, today, cleaning up the edges of the bonnet, and shaped it to fit. All that's needed now is to finish off the surface and smooth it out.
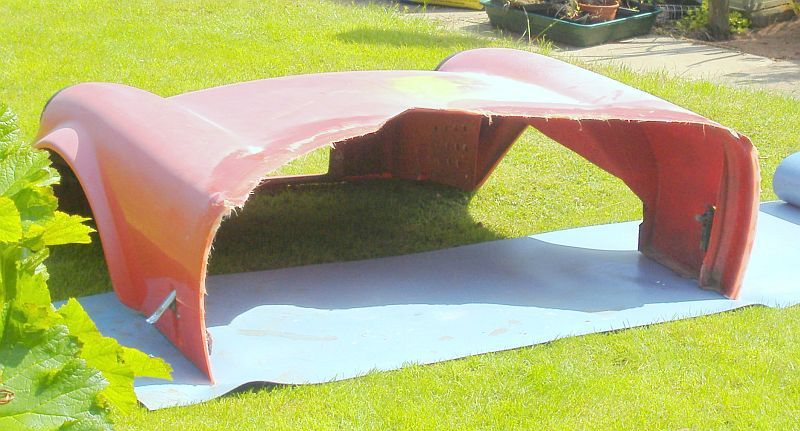
After a weekend away, I returned to work on the bonnet, the edges were trimmed a little more to even up the gap, and a few dips were filled ready for sanding.
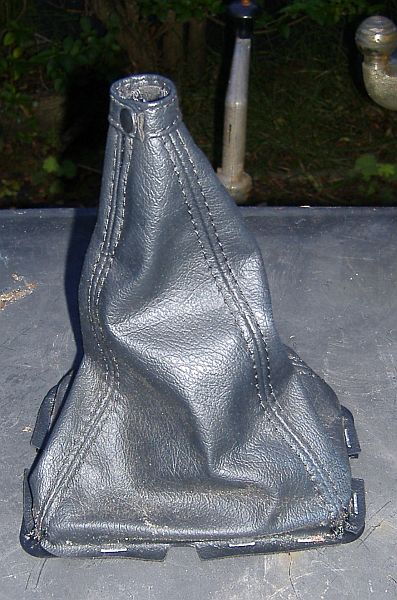
While the bonnet was drying, I paid another visit to the local scrapyard, and picked up a gaiter for the gear stick, this will need a surround made, so I will need to look at that later.
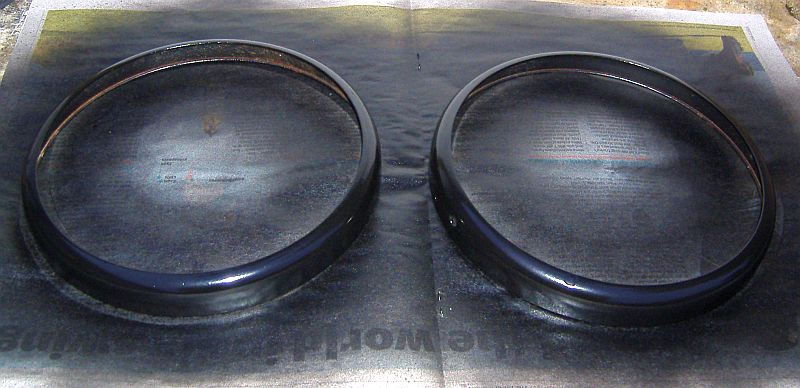
I also gave the headlight surrounds a quick sand and re-spray ready for the finished bonnet.
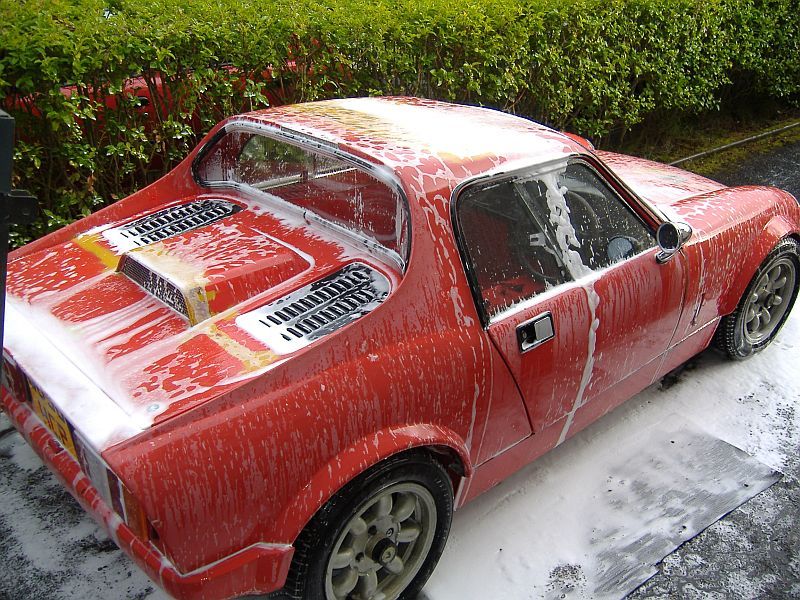
Well with everything fitted back on the Car it was ready for a quick wash, just to clean up the windows and lights, ready for its MOT, unfortunately the well know Edinburgh based Quick fit tyre company, allowed me to book a day/time combination that they don't do. Then phoned me on Friday too late to arrange another garage.
So the car is ready, but it has nowhere to go.
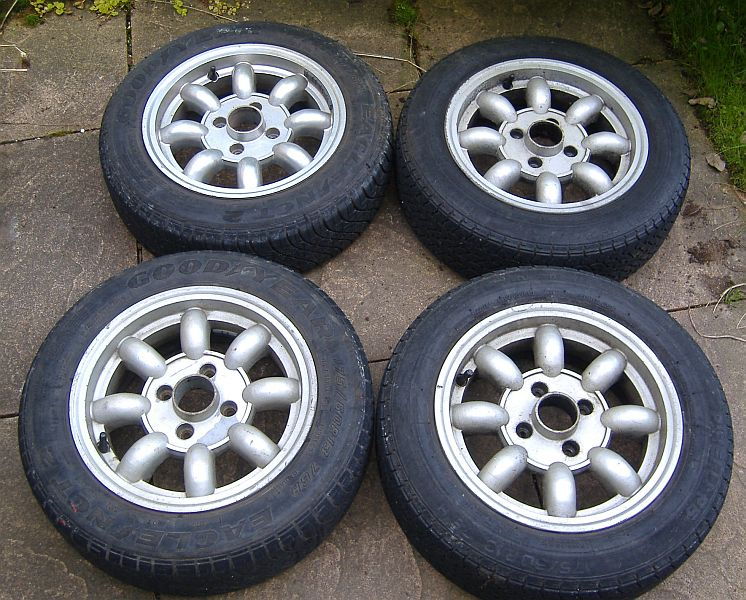
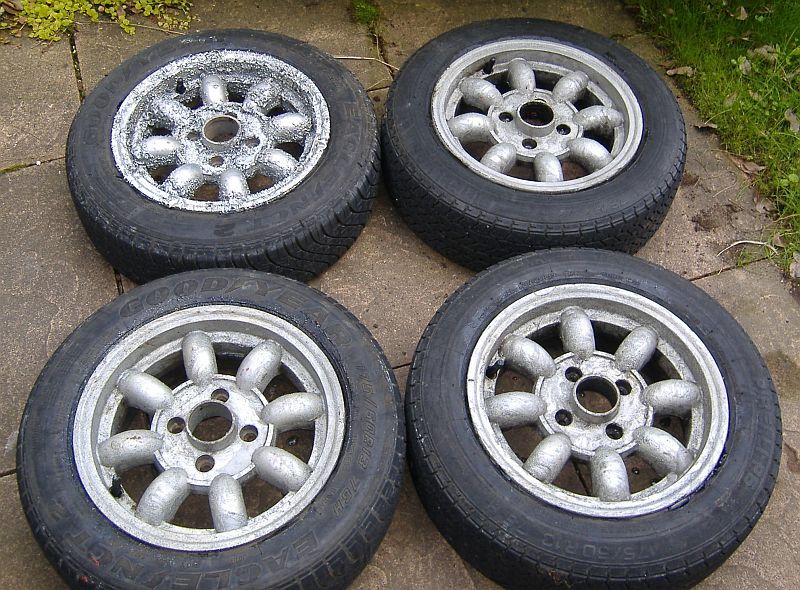
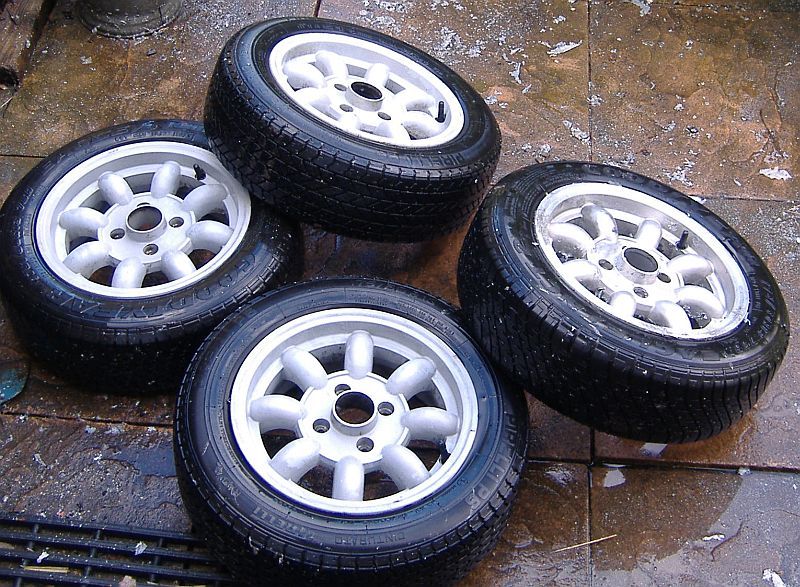
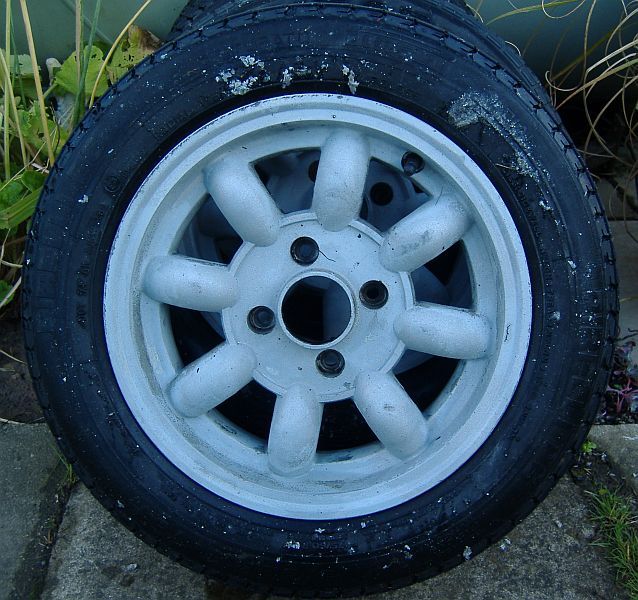
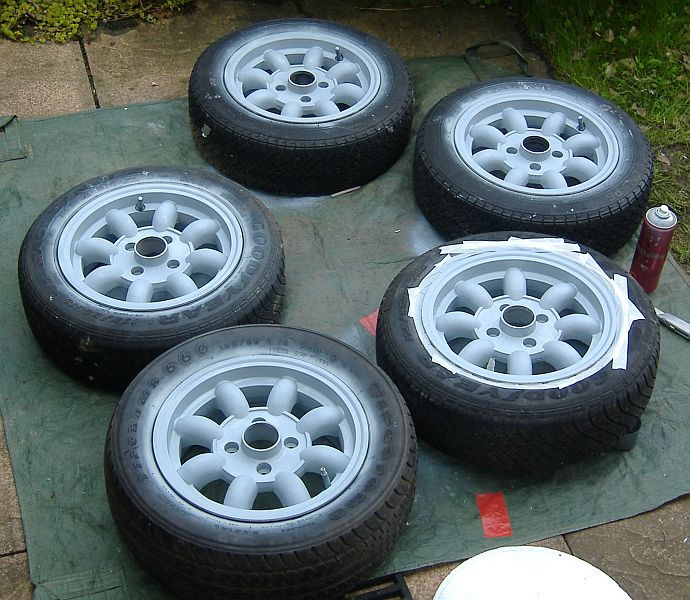
As the next MOT I can get is on the 12th of September, I decided to re-paint the wheels, and I may change the tyres later also.
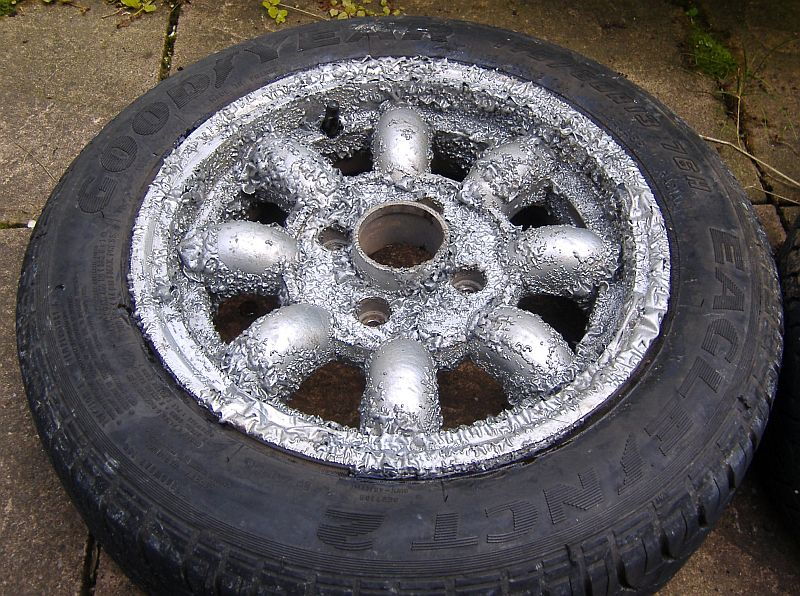
First step was to get the wheels off the car, and give them a coating of Nitromor, this caused the paint to bubble up and a quick power wash saw the most of the paint gone, a second treatment saw the wheels ready to give a light sanding.
|
|
|
|
|
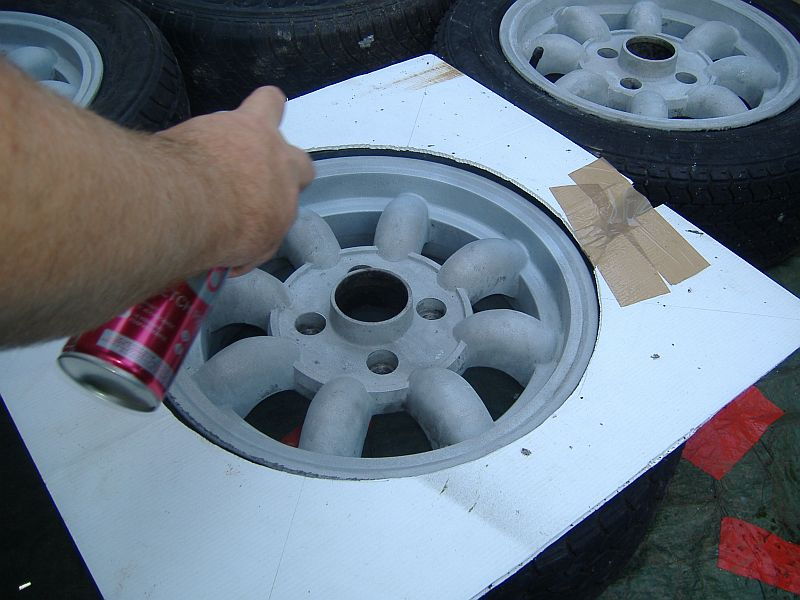
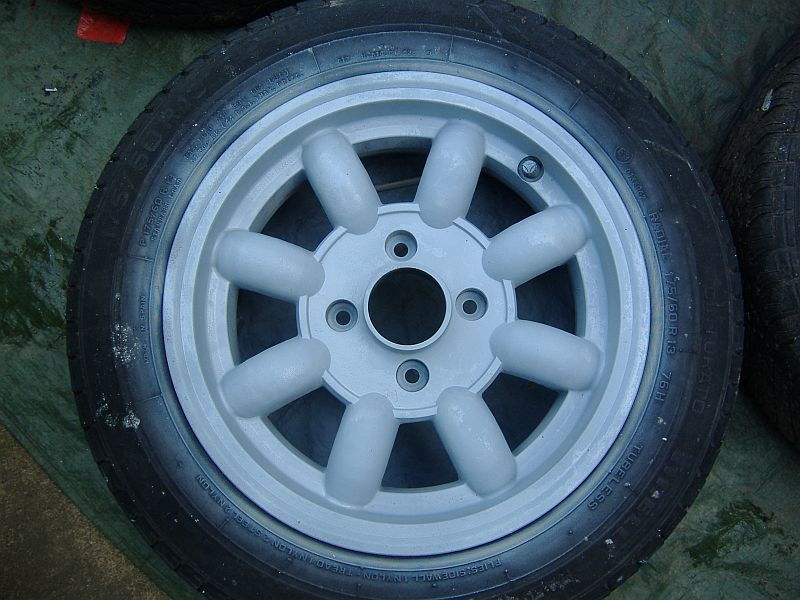
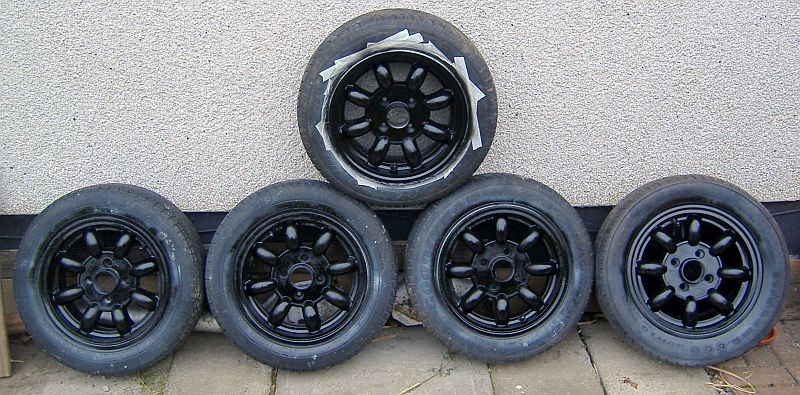
Once the wheels had dryed over night, they were given a rub with 600 grit wet & dry to key the surface. Looking at the tyres, I decided to keep only the one tyre, so there was no point in masking the rest. I started with a spray with etch primer, sanded, and a second coat applyed. Then, after another sanding, a gloss black top coat was applied. This will be given 24 hours to harden, then sanded again.
|
|
|
|