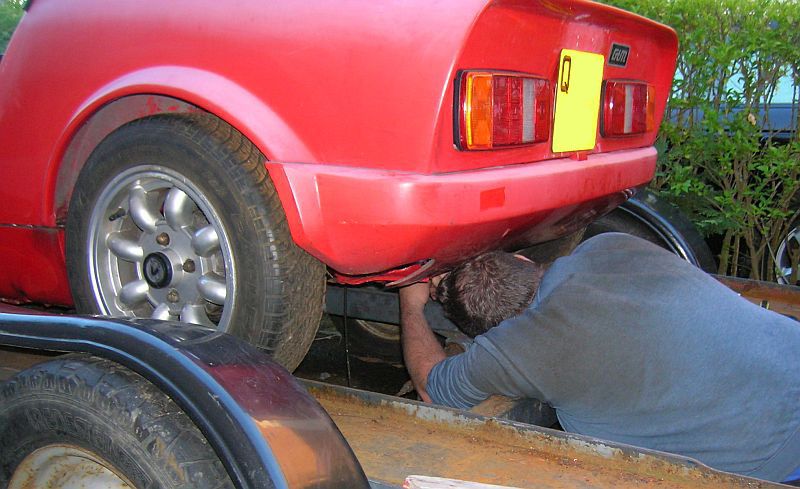
Having got the engine back in place it was a case of returning all the removed parts. Started off with the "Aeroquip" hoses for the rear brakes.
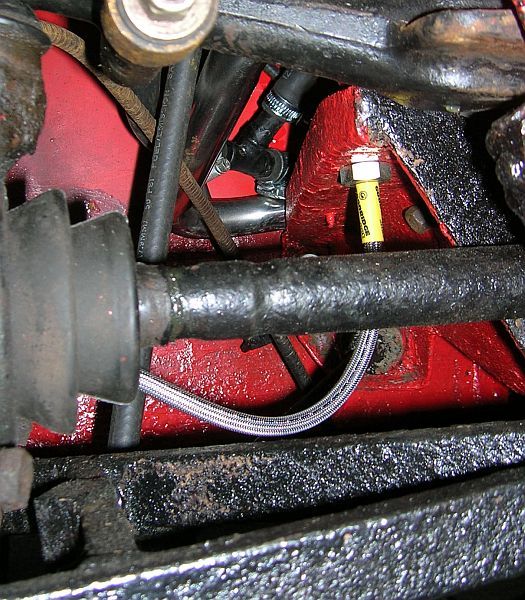
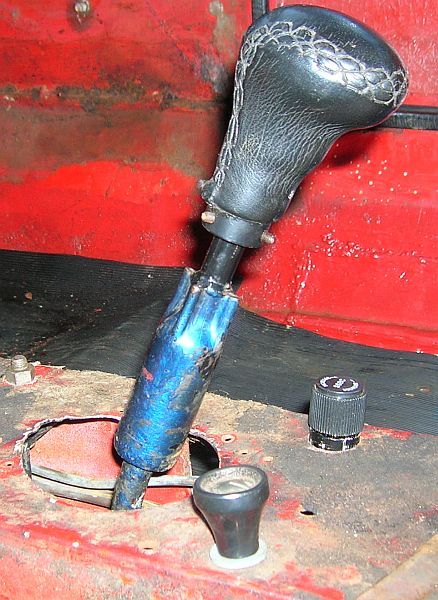
These were followed by the gear linkage, and on the third attempt, I managed to get the length adjusted correctly!

Once in place, it allowed fitment of the gear lever and adjustment of the reverse light switch. And once done the brake lines could be run and the bias adjuster fitted.
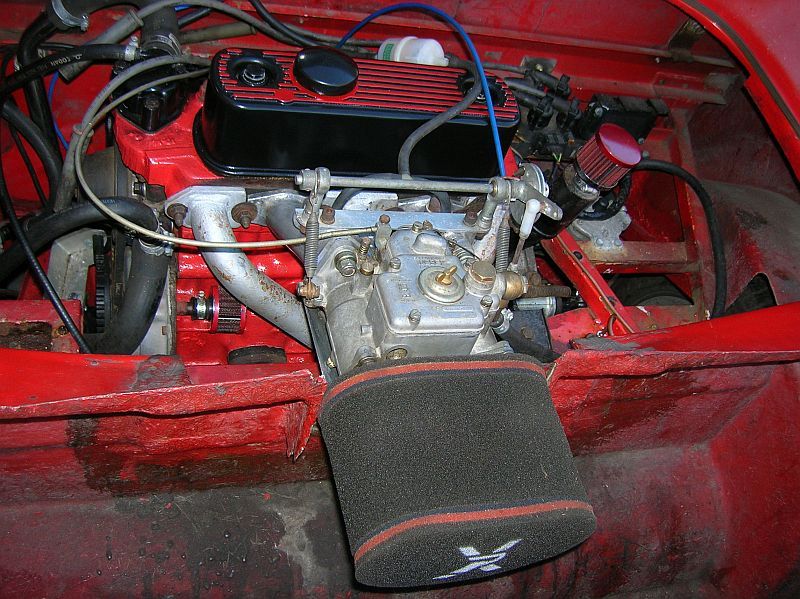
With the gear linkage in place I could replace the cut-off switch and connect the main electrical feed to the starter motor, along with the rest of the electrics at the engine end. Once in, I then hooked up the exhaust, and inlet manifolds, along with the Weber carburetor.
|
|
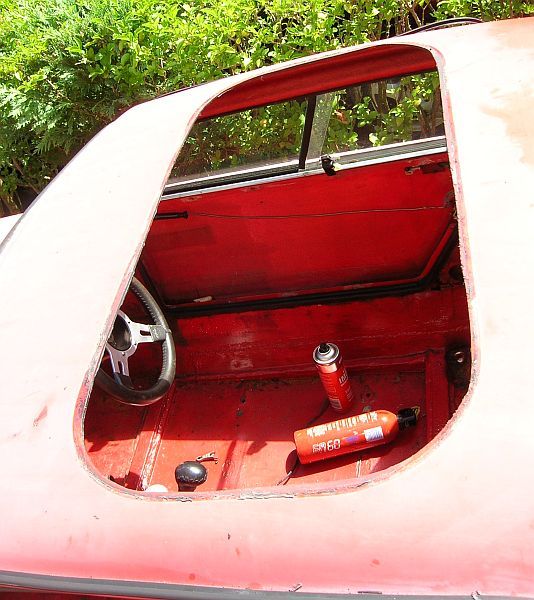
With the engine back in place, attention was turned to the inside of the car. A previous attempt at having rubber matting inside didn't work to my liking, so I stripped it out, and spent several hours removing bitumen sound deadening material.
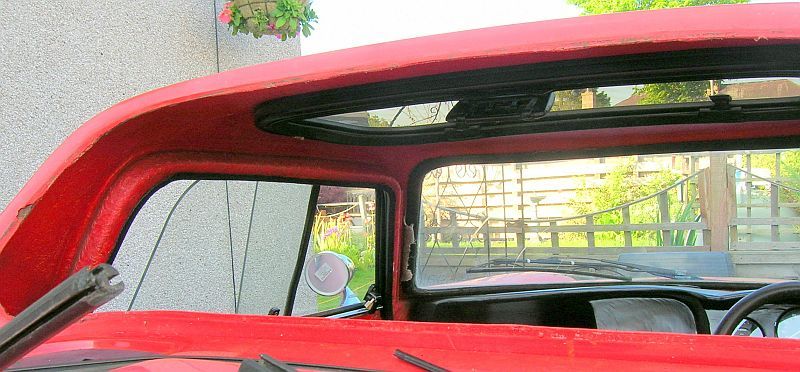
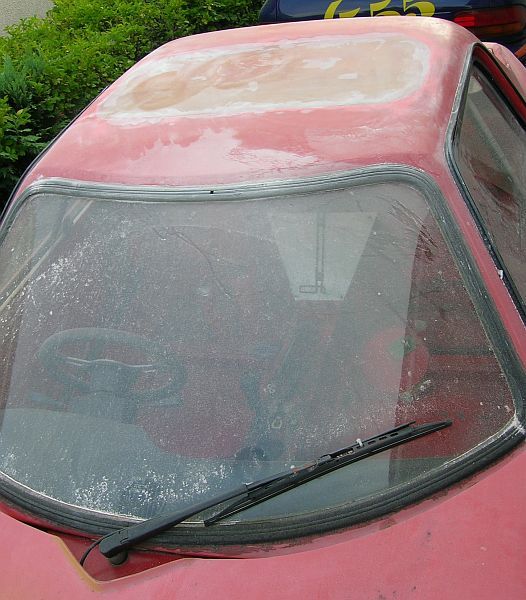
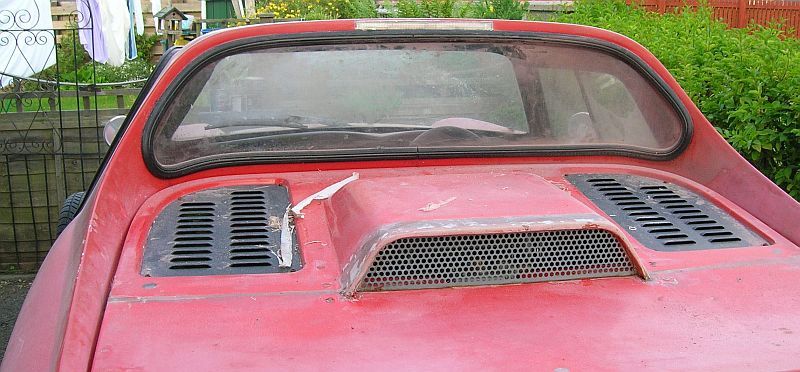
Next to go was the headliner, this meant popping out the rear window, removing the liner and getting the window back in place, a job that sounds easier than it is, but some silicon lubricant and a spare pair of hands had it done.
|
|
| |
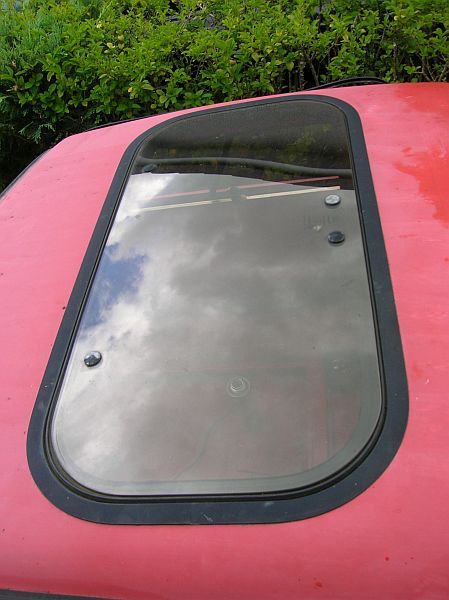
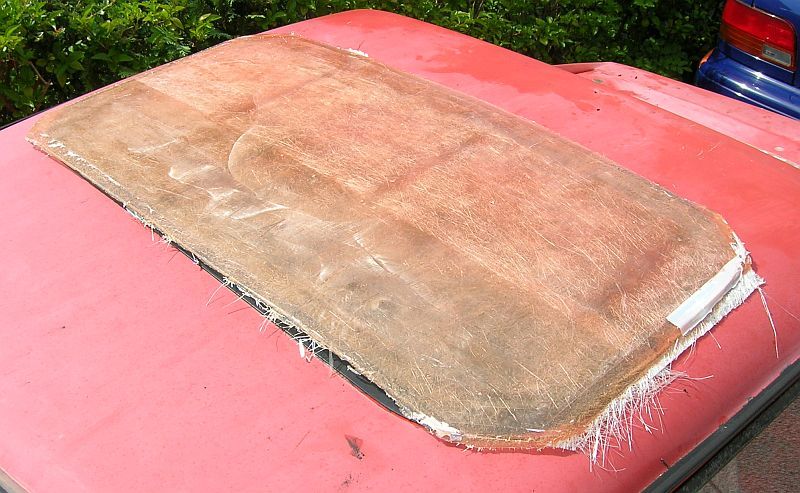
A dry afternoon allowed me to remove the frame holding the sunroof in place, and get some measurements of the gap left.
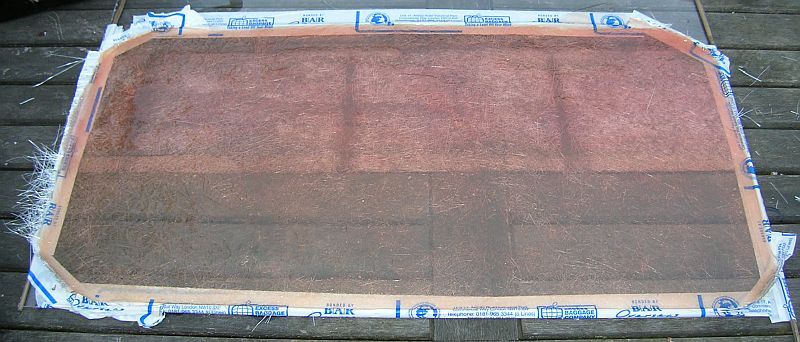
This gave me the sizes to
create a mould to allow a replacement panel to be fabricated. This panel will be bonded in where the sunroof was, later. The panel was made over size to allow for the slightly wavy edges of the gap, the panel will be tailored to fit in place.
|
|
| |
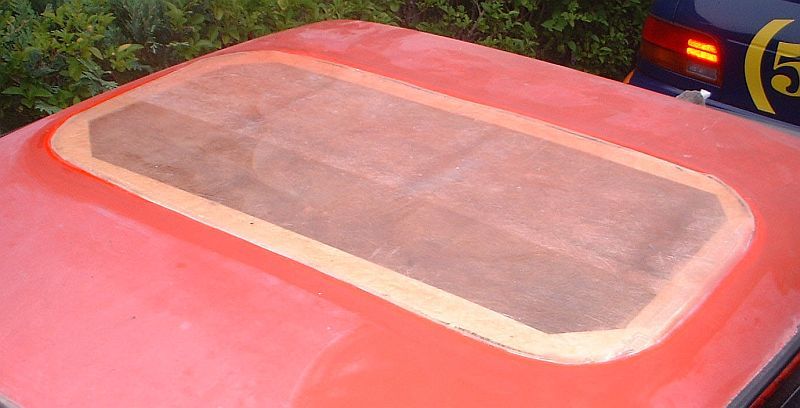
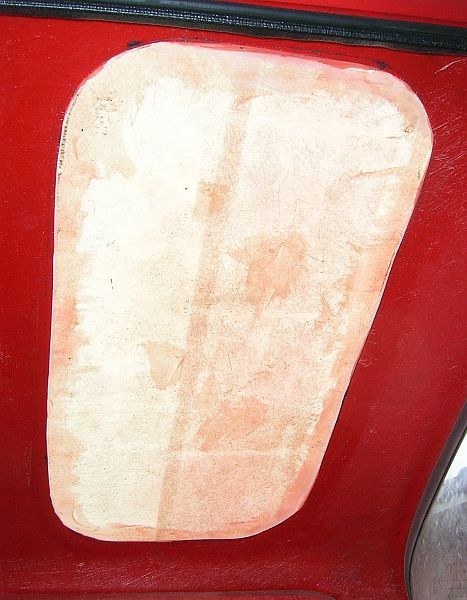
Having allowed the panel to harden overnight, I released it from the mould and tried it on the roof. It seems to cover more than what's needed, so I will leave it to harden fully before trimming it.
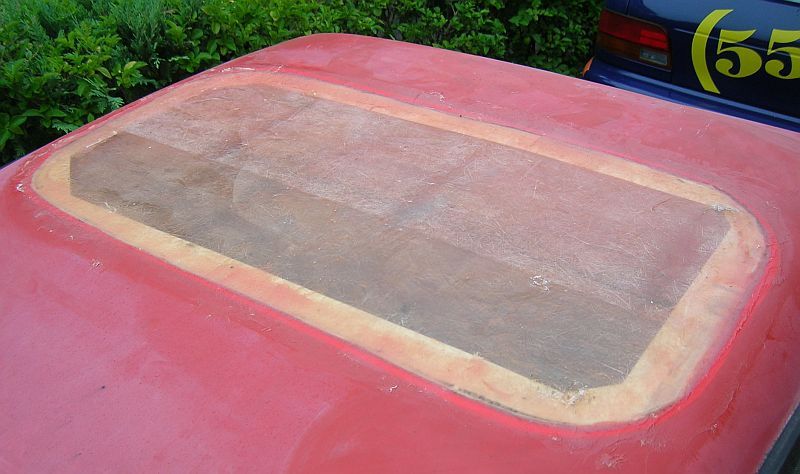
A free evening, just before the Haar rolled in, saw me chamfer the existing sunroof hole, edges, to 45o, followed by cleaning off the mastic that held in the sunroof with a little acetone.
Then the new panel was trimmed to closely fit the gap, taped into position, from underneath, and bonded in with P40 glass fibre compound.
|
|
| |
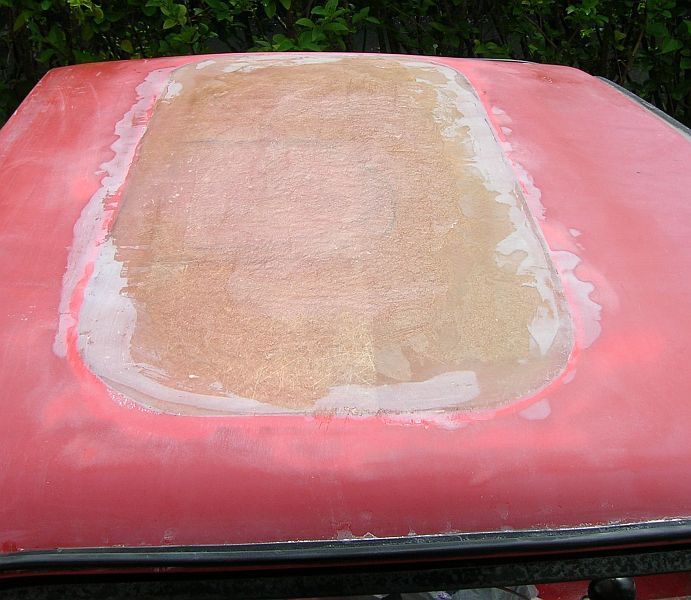
After letting the panel set overnight, the tape was removed, ready for the inside to be bonded also.
|
|
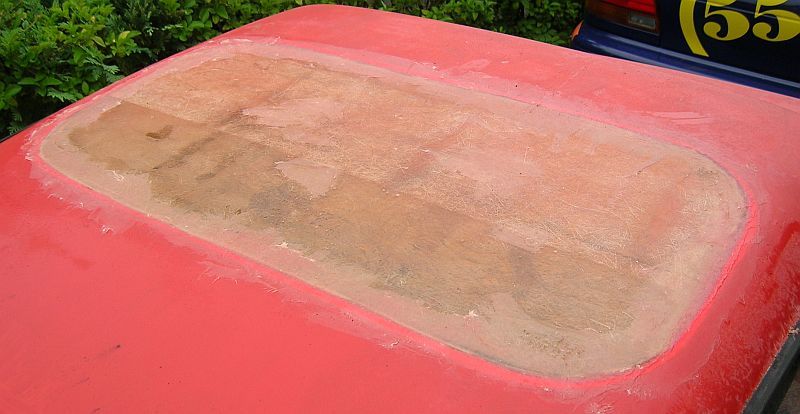
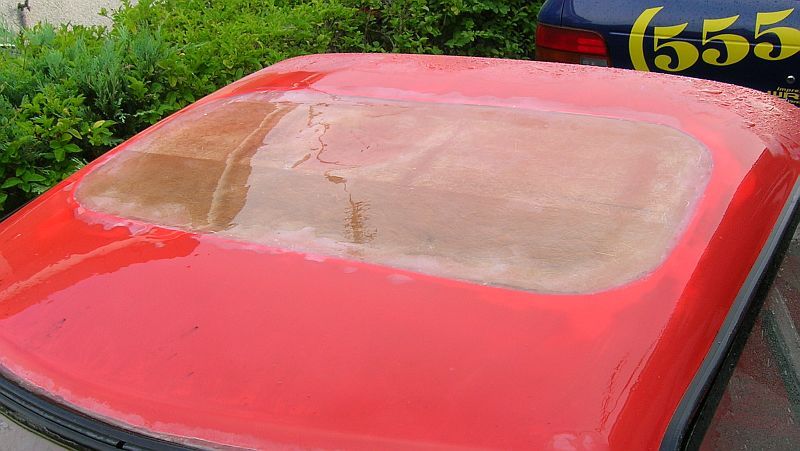
Another still night, meant the inside of the panel could be bonded, and the sanding could begin. This turned out to be rather a dusty affaire, due to the stillness of the evening. So before too many people got worried about the amount of white power lying on the roof, I gave it a quick wash down, which proved it was water tight also.
|
|
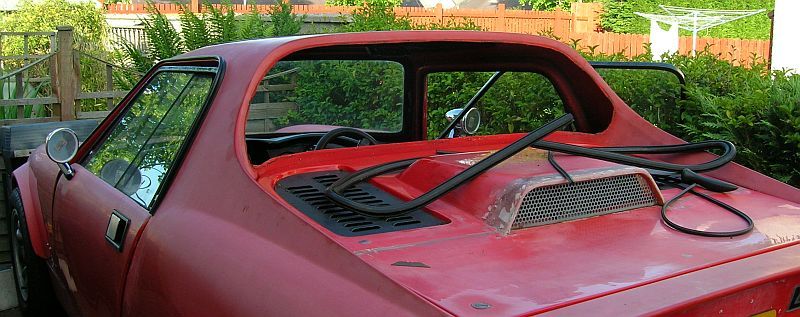
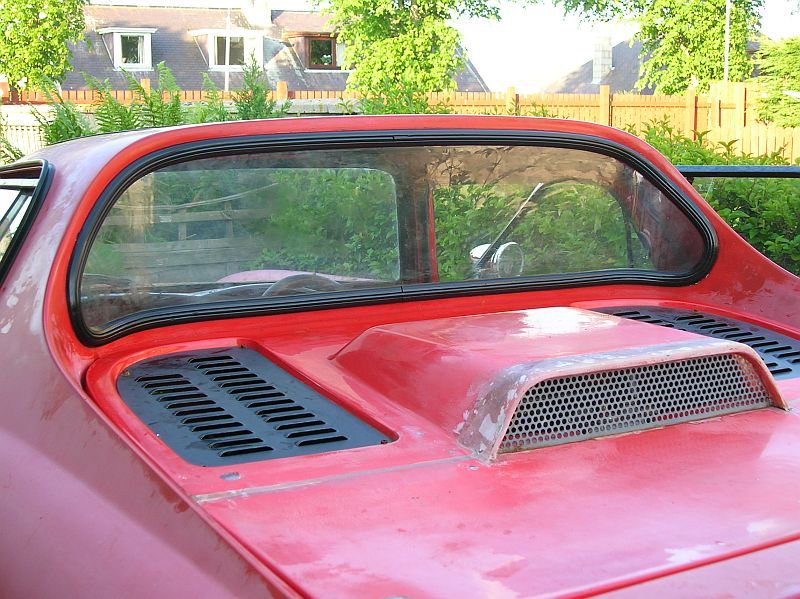
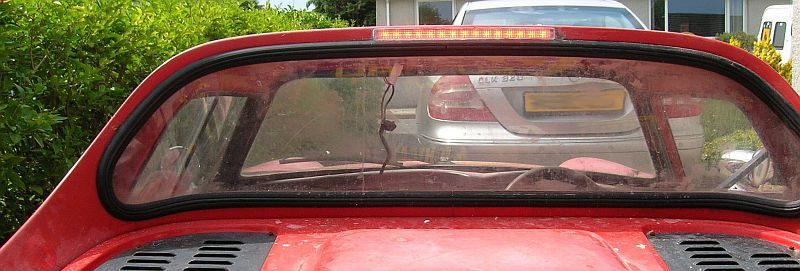
At the same time as I was working on the roof, I took the chance to open up a slot just above the rear window that allowed the lens of the brake light, I had waiting, to poke through. This will be sealed into place later with a little silicon sealant.
A couple of hours before departing for a birthday party, allowed the panel to get a quick sand, followed by a couple of thin coats of P40 to bring the surface up a little in places. While waiting for it to dry I temporary wire up the brake light to see the effect.
|
|
While I had some available manpower, in the form of my wife and a neighbour, I took the chance to swap the cars around on the drive, leaving the Coupé on the ground. This show allow me to work on the roof a little easier